This article was updated February, 2020 to update the resources, organize the content for easier comprehension, and expand the piece to include a video of this move. It's waaaaaay better now (you're welcome).
I think it's the perfect time, in this political climate to ask: Where do you stand?
Folks are regularly told they are "swaybacked," have hyperlordosis, or have excessive anterior (forward) tilt and are instructed to fix it by tucking the pelvis under, i.e. reducing their lumbar curve by tilting the pelvis posteriorly to flex the lumbar spine.
Measuring lower back curvature or "lordosis" is tricky because the curve of the lower back can increase in more than one way. Yes, the anterior/forward tilt of the pelvis can deepen the curve of the lower back, but so can moving the ribcage. "Rib thrust" is the term I use to describe the motion of the ribcage when you lift and shift it forward. Rib thrust is a triplanar (three-planed) movement. Because of the ribcage attachments, when you lift the front of your chest, you also lower the back of the ribcage closer to the pelvis (compressing the spine), all while the entire ribcage shifts forward a bit. Moving the ribcage in this way also deepens the lumbar curve, so before you tuck your pelvis to "fix" too much curve in your lower back, make sure your curve isn't being made from a rib thrust.
While the curvature of the spine looks excessive (because it is!) and the pressure on the low back feels painful (because it is), know that this issue can be created by how you're holding your upper body. If you're a rib thruster, tucking your pelvis under to decrease compression in your lower back can be a short-term solution that gives some relief but this movement also ends up changing the loads to your feet, knees, hips, and pelvic floor. Mother tucker!
Use the wall as an objective alignment marker
To see if your body stacks up vertically (or if your ribcage sits in front of your lower body), try this measure below:
-Start standing, your heels three to four inches from a wall.
-Next, you need to have straight, vertical legs. You might have to untuck your pelvis to "neutral."
-Then, bring your upper body—shoulders, and the back of your head against the wall.
-Now check to see if you have a small space between your waist and the wall where your low back naturally curves in.
-If your waistband is entirely on the wall, you are still tucking. Tilt your pelvis forward (stick your butt out into the wall) until a space appears in the lowest part of your back. Once you have that space, bring your upper body back to the wall if it came forward.
-Now check to see if your middle back (the ribs/bra strap/heart rate monitor area) is touching the wall. (Picture below shows a neutral pelvis and my head against a wall but NOT my ribcage! IMPORTANT TO NOTE that with a straight leg and a neutral pelvis my lumbar curve is deeper than desired. #swayback)
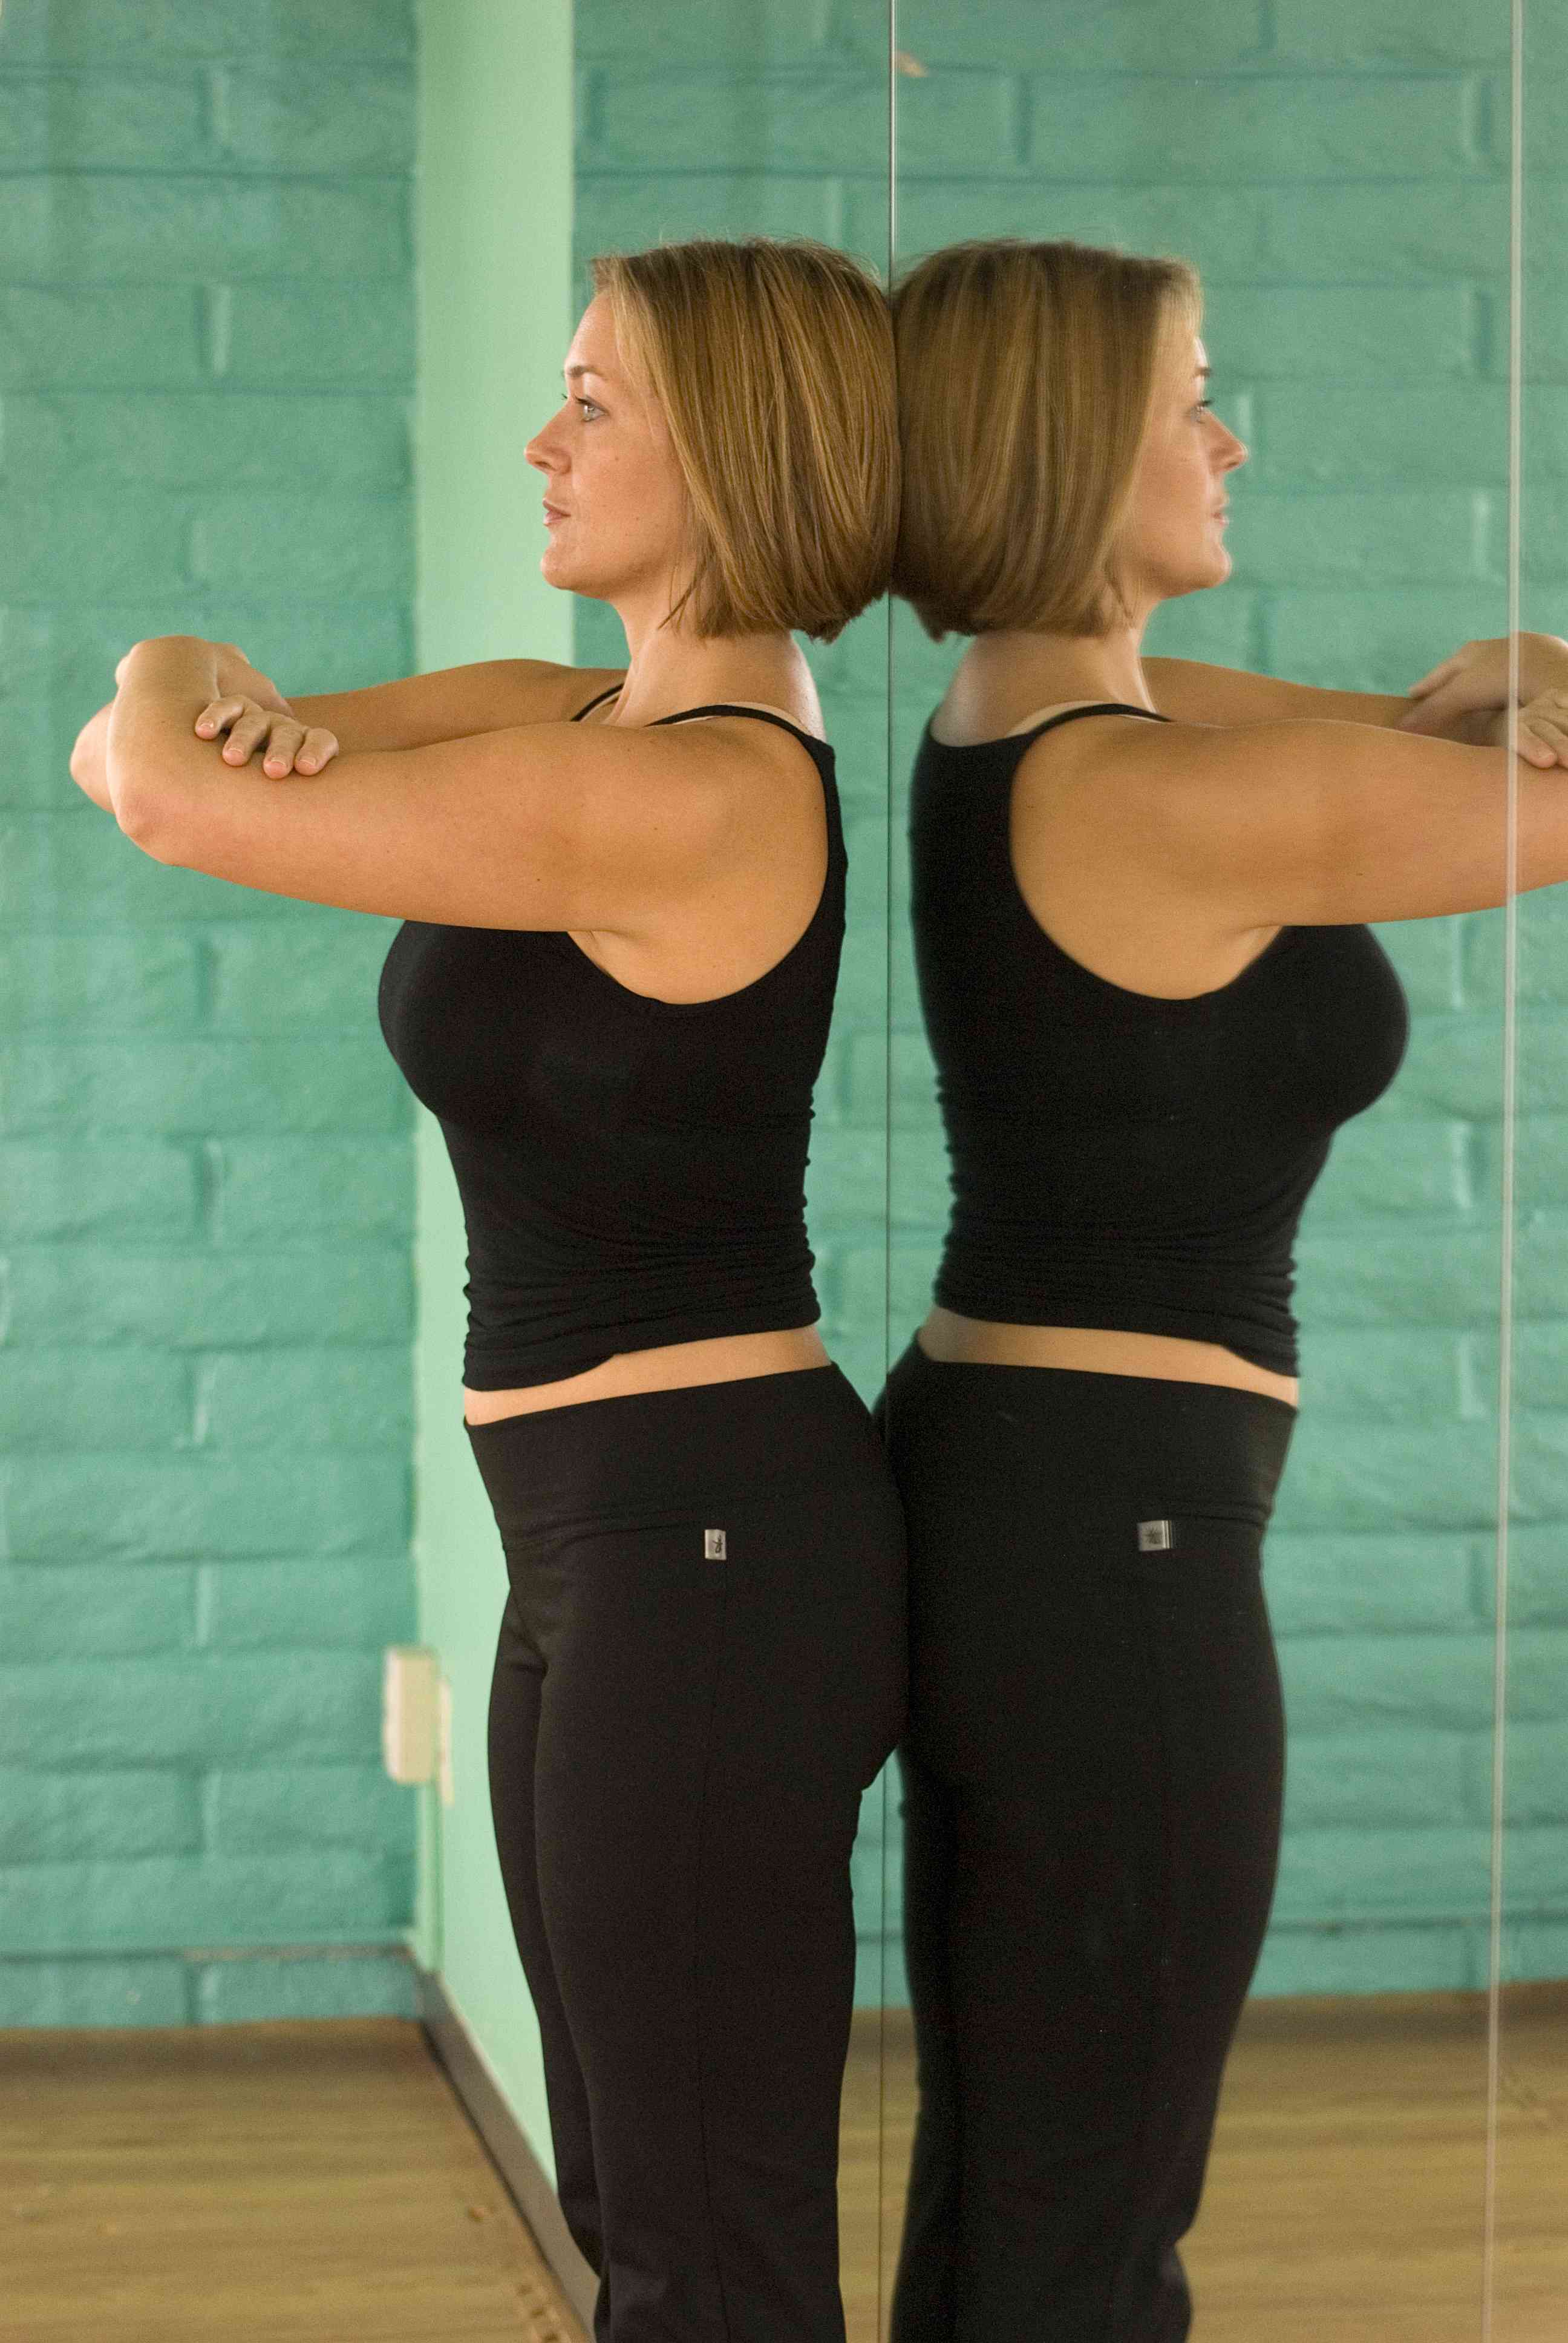
-If your middle back is not touching the wall, drop your ribcage, allowing your head and shoulders to move forward if you need to, until the mid-back touches. (IMPORTANT TO NOTE that the picture below shows the same pelvic tilt as the picture above, my head on the wall and my ribcage on the wall. Note the decrease in lumbar curve, no lower body adjustment needed.)
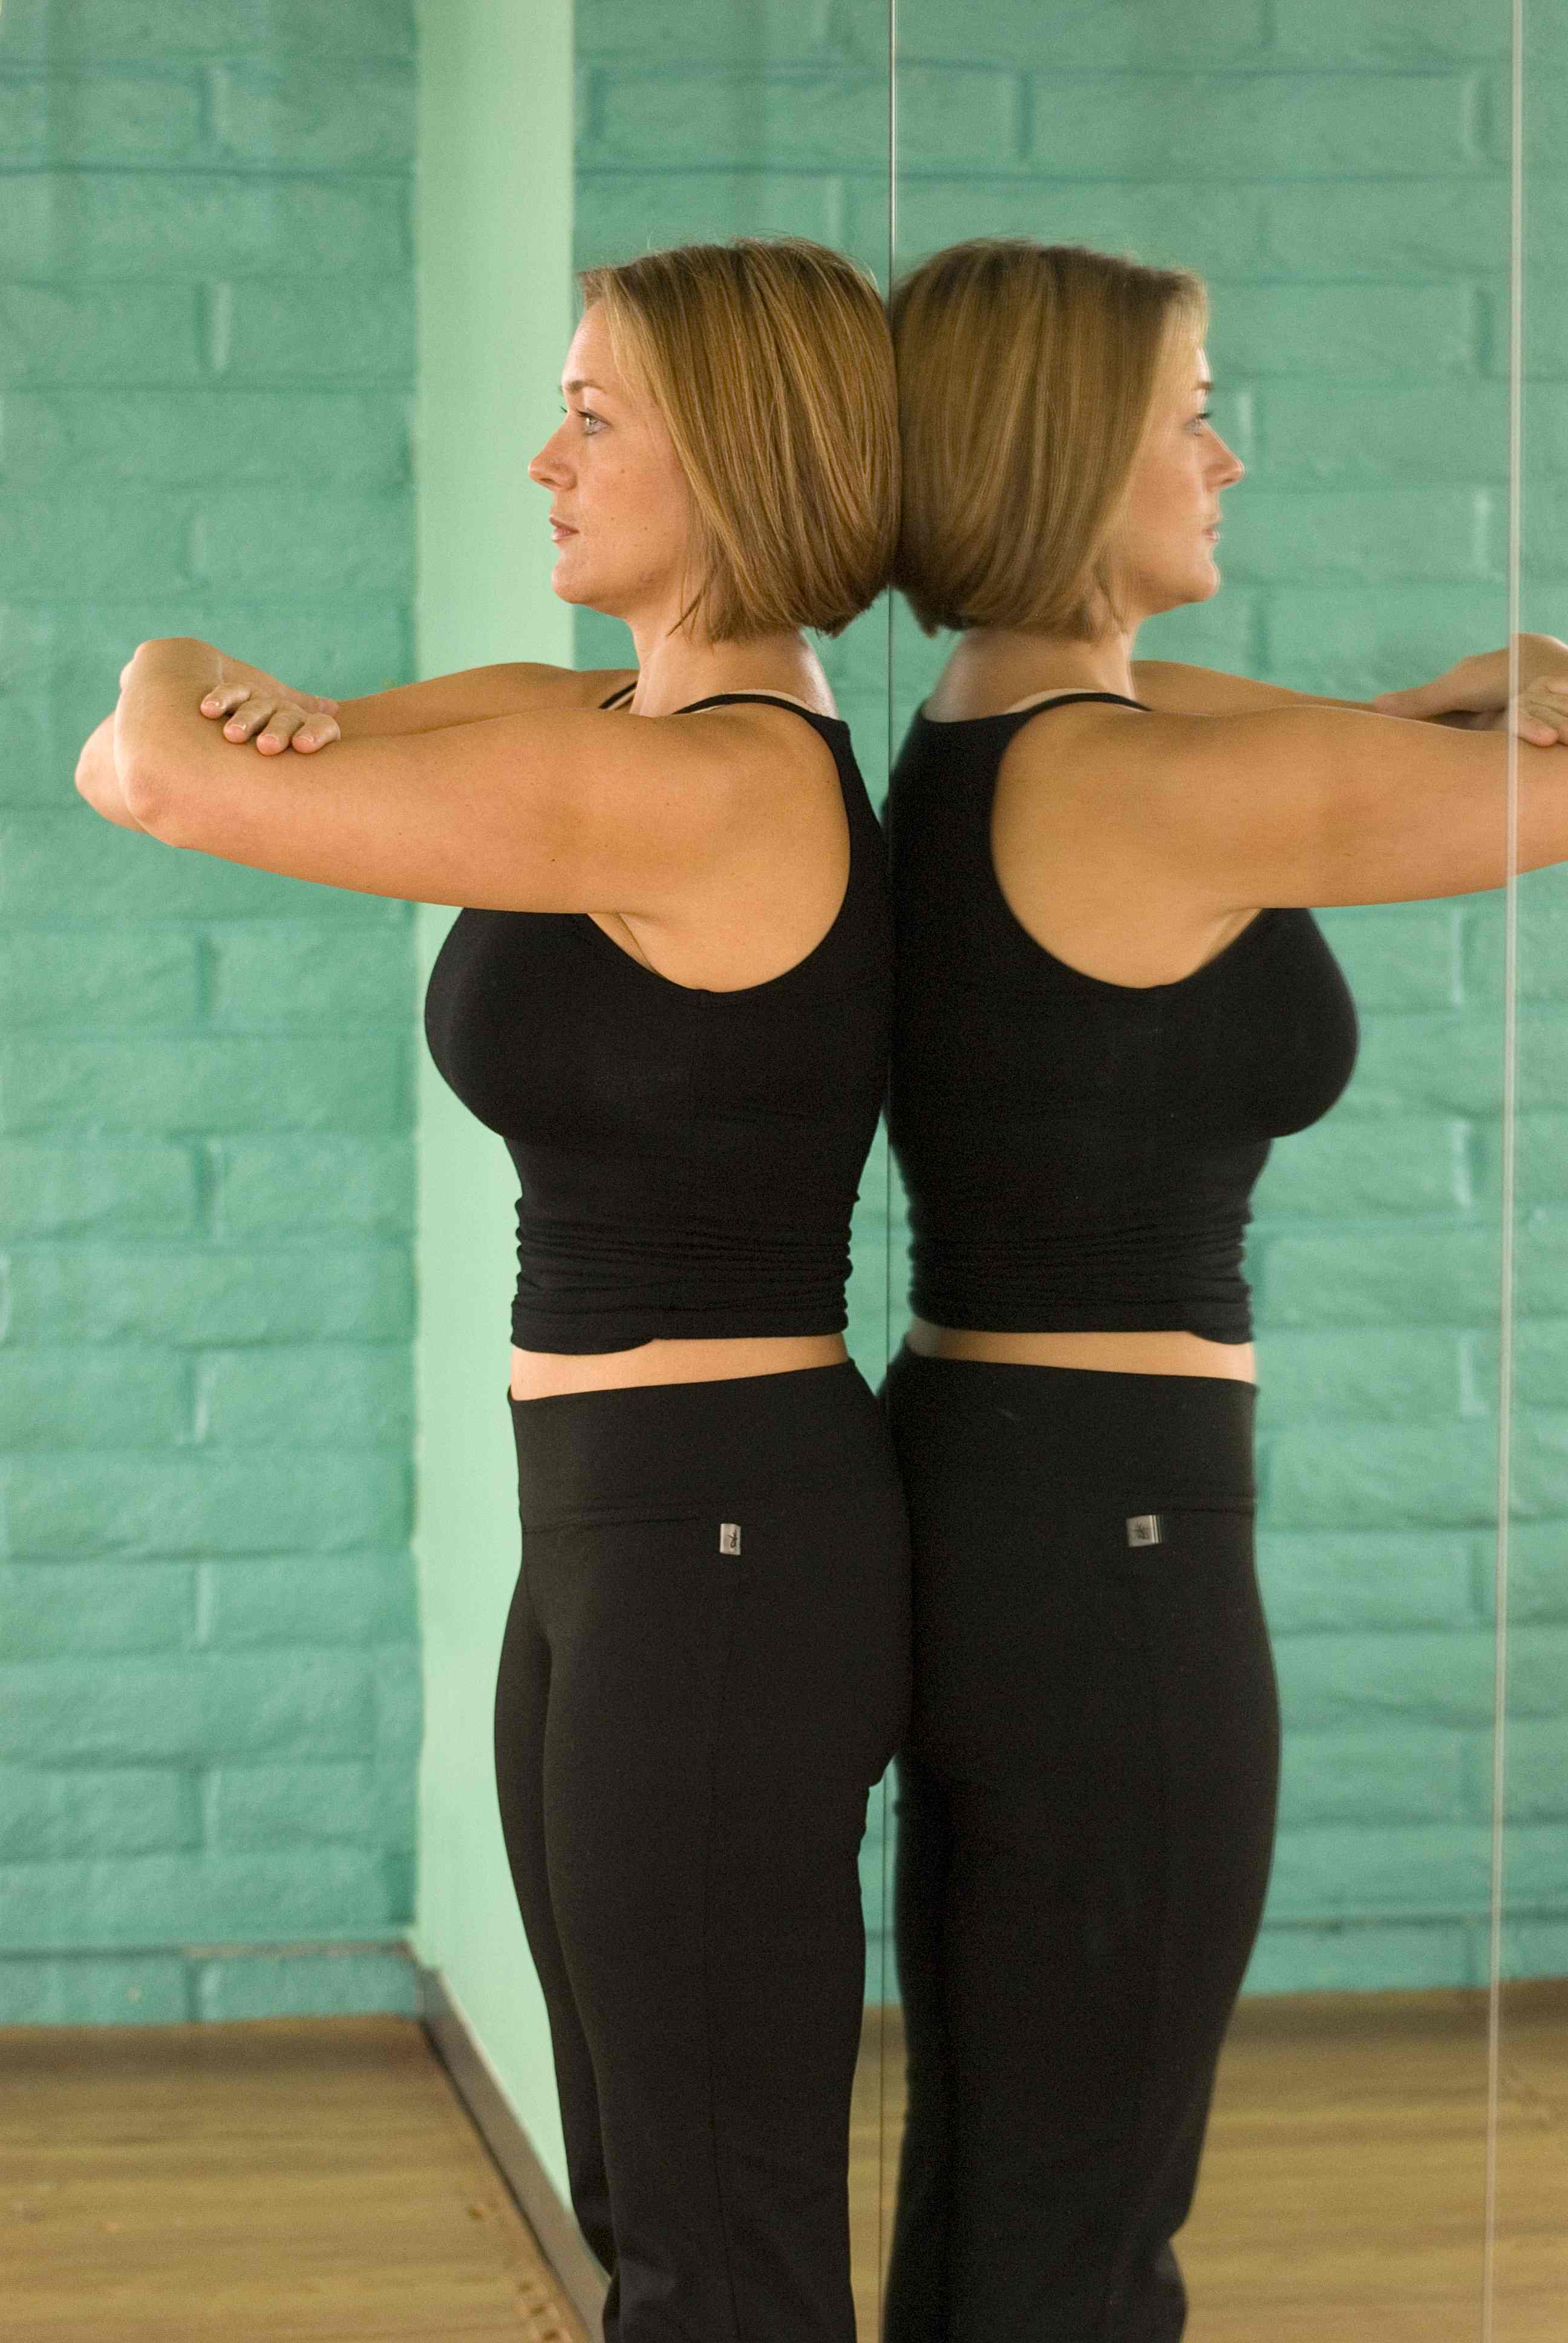
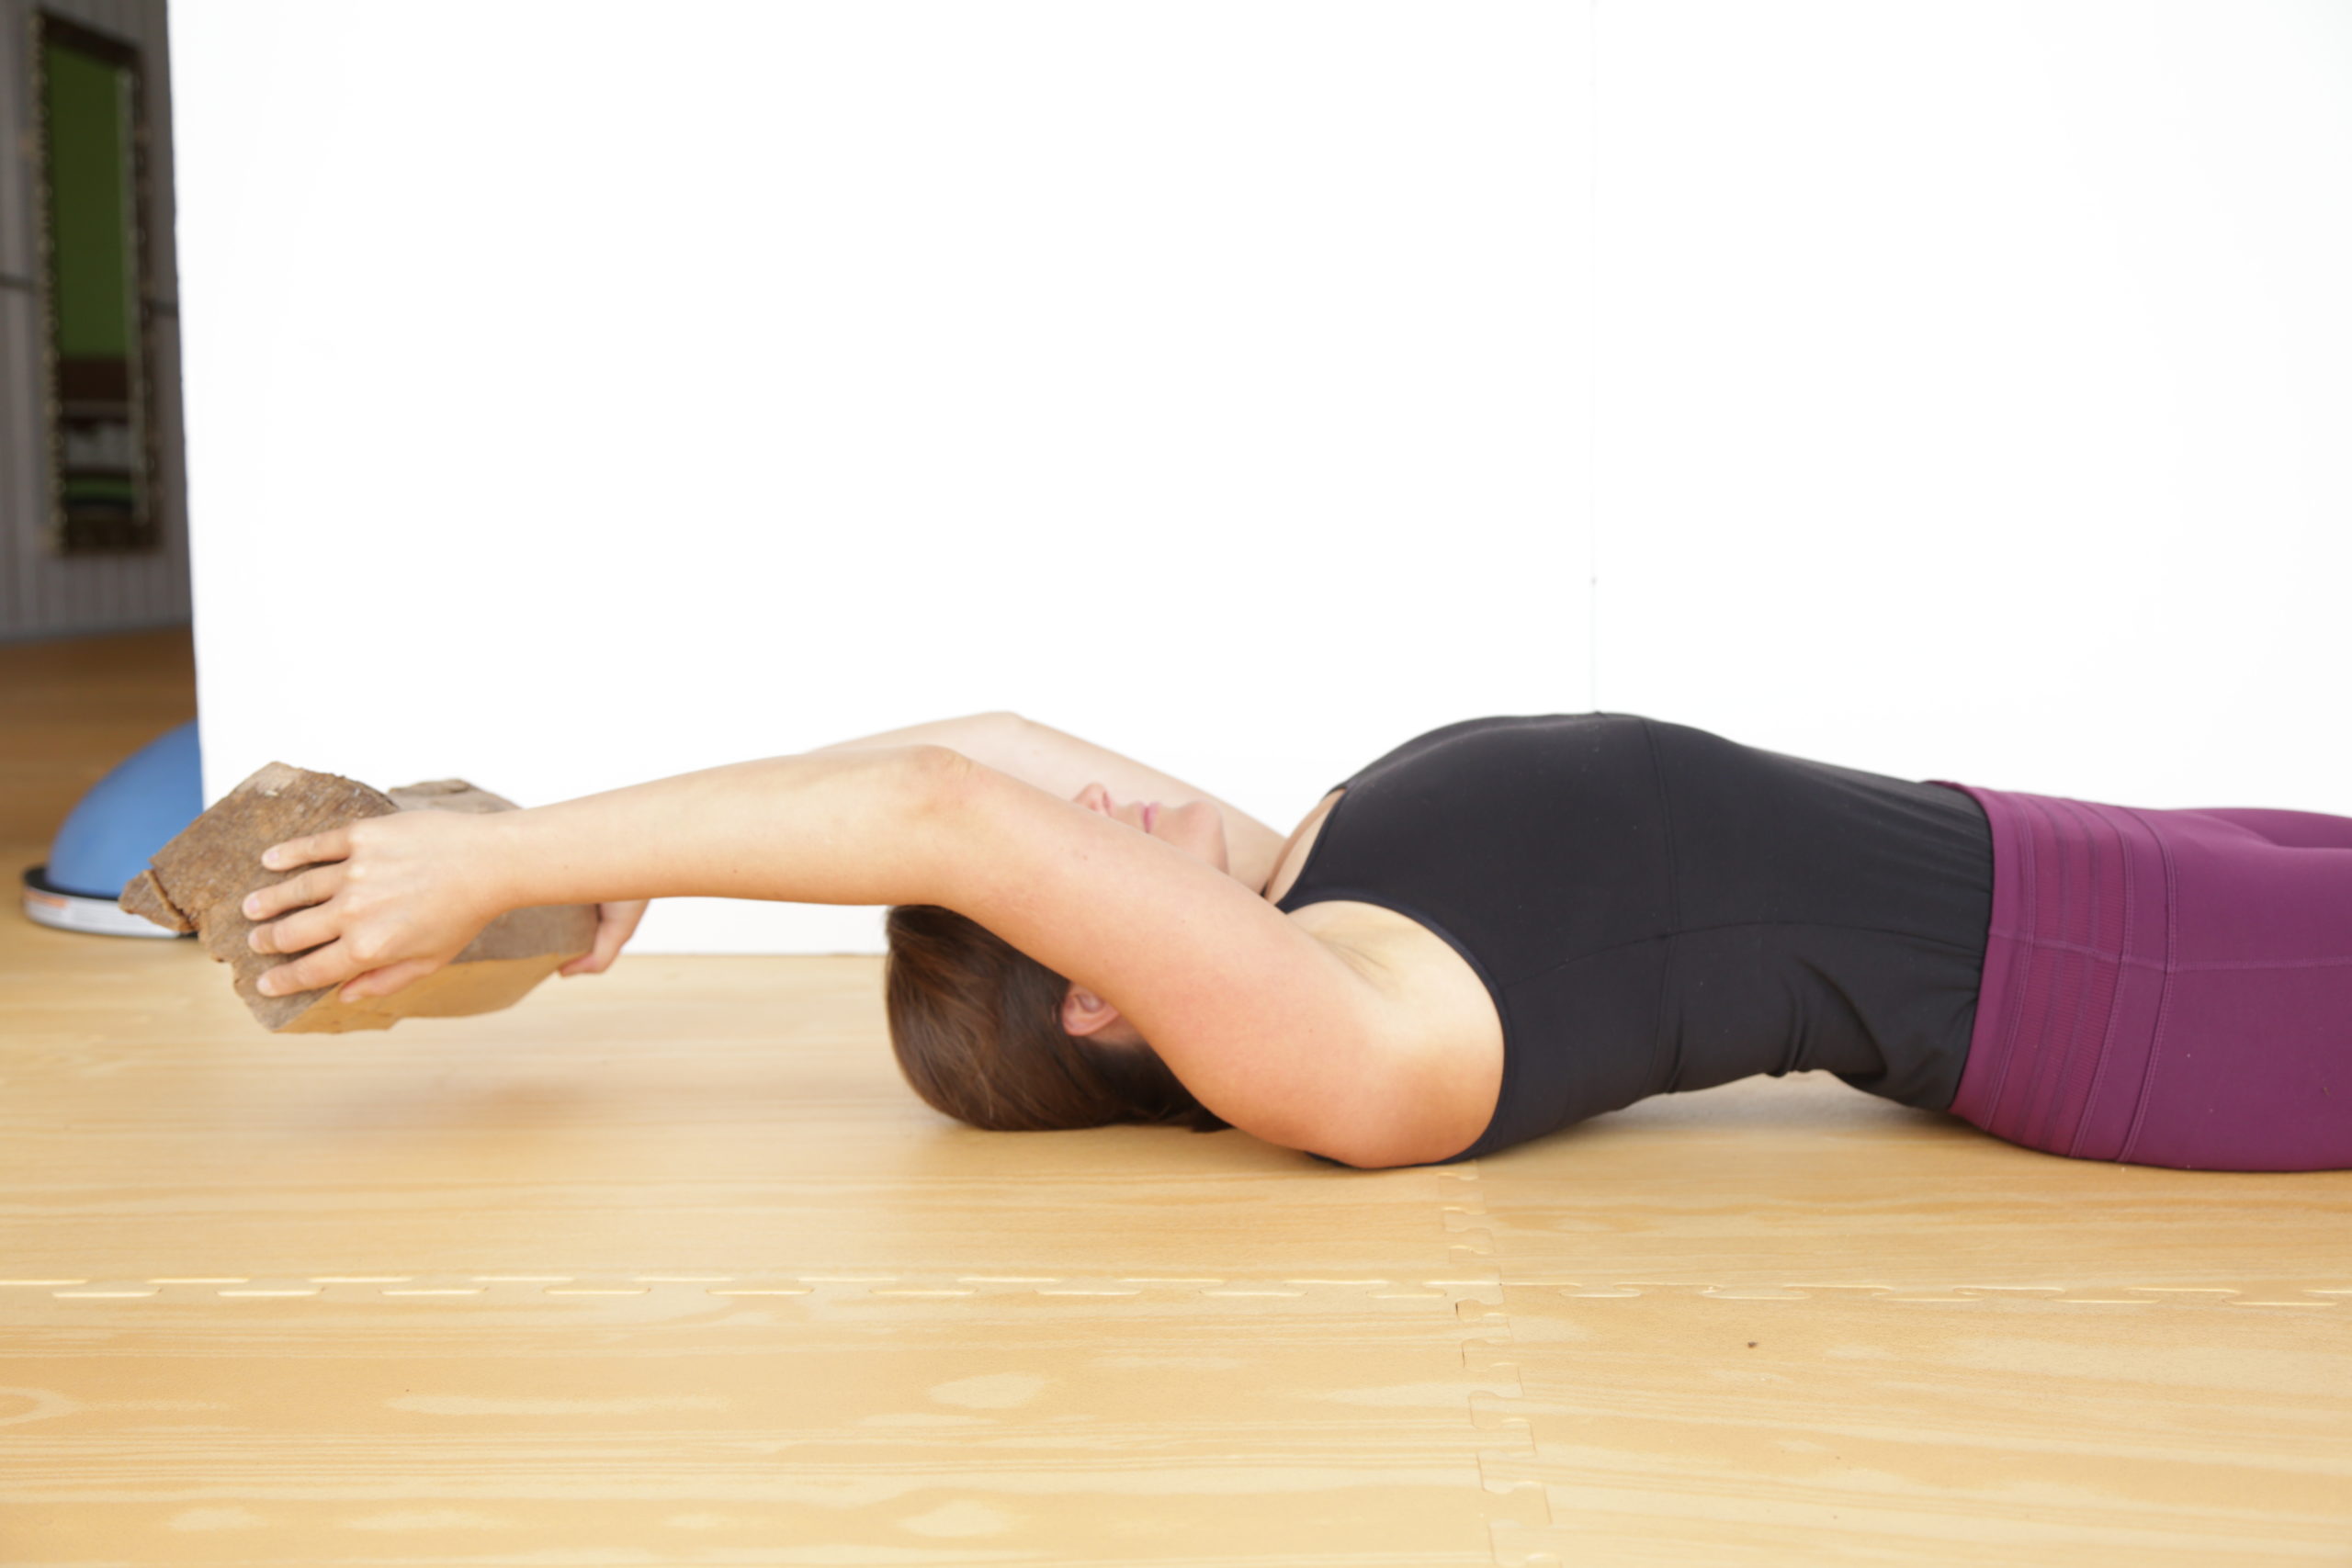
Maybe you can only get your ribcage back if your head comes away from the wall. Not to worry; you're now clued in to how the curve and stiffness of your upper back (thoracic spine) relates to any issues in the other parts of your body. I can get my head and ribcage back at the same time because the parts of my upper back are mobile, giving me options. You can work on this upper-body mobility too!
Here's a video of dropping the ribcage from an overly elevated position and the head and upper back movement, "head ramping," you can do to start mobilizing a stiff upper back and neck.
KEEPING THE RIBS DOWN from Katy Bowman on Vimeo.
One issue with hyperkyphosis (the fancy anatomical name for excessive curve of the upper back) is that it puts our head down. All species have a dominant sense and for humans it is our vision, so it's no wonder we adapt to stiff and weak upper bodies by lifting our head by rotating the ribcage. Still, what's good for the eyes isn't as great for the spine. This isn't to say that all hyperlordoses are created by ribcage movements, but that a stiff upper back often shows up as a deeper-than-necessary lumbar curve, and in these cases it's ultimately the upper body that needs to be moved better, not the pelvis or lower body.
Once you've identified any upper-body stiffness, you can work on it! To do so, focus on maintaining ribcage alignment (ribs down! is the simple cue) as you do your upper-body strength and stretching so you can get more to the "ground zero" of your particular issues.
Where to begin? Do the head ramping exercise above regularly throughout the day and try this chest-mobilizing "Floor Angels" exercise from our Movement Multivitamin DVD—just remember to work on dropping your ribs as you stretch your chest muscles, OK?
Dig deeper into the concept of rib-thrusting movement, and the way it affects pressure and issues like diastasis recti, in my book Diastasis Recti: The Whole-Body Solution to Abdominal Separation. Read about how pressure affects pelvic floor health in Our Best "Healthy Pelvis" Resources. Find more body-mobilizing moves (with lots of ribs-down cueing!) in the online video course Nutritious Movement Improvement.
