This seems like a really good time to talk about breathing and how the amount of oxygen you take in is affected by your musculoskeletal system. If you know you’re driving into a storm, you check your headlights and windshield wipers to make sure they’re working as well as they can. Sometimes you don’t know you’re going to be driving into a storm (like me, EVERY TIME I visit New Mexico), which is why it's a good idea to keep up your car in general. Either way, here is some information and some exercises to get you breathing well.
The breathing action is influenced by many things: environmental, psychological, biochemical, and biomechanical. Guess which category I’m going to write about now!
Breathing is a movement, and it’s a movement affected—made possible, even—by the movements of other parts. The mechanics of breathing can become complicated quickly—there's quiet breathing, breathing while sleeping, breathing during different types of exercise, breathing using your nose or mouth, and it goes on and on. My point with this piece isn’t to teach all about breathing but introduce you to some baseline mechanics and, more importantly, to help folks get their breathing parts moving better. For these reasons, I'm keeping my overview simple(ish) as breathing better comes faster via movement than via reading about it.
ALL ABOUT BREATHING
Okay, so what’s breathing?
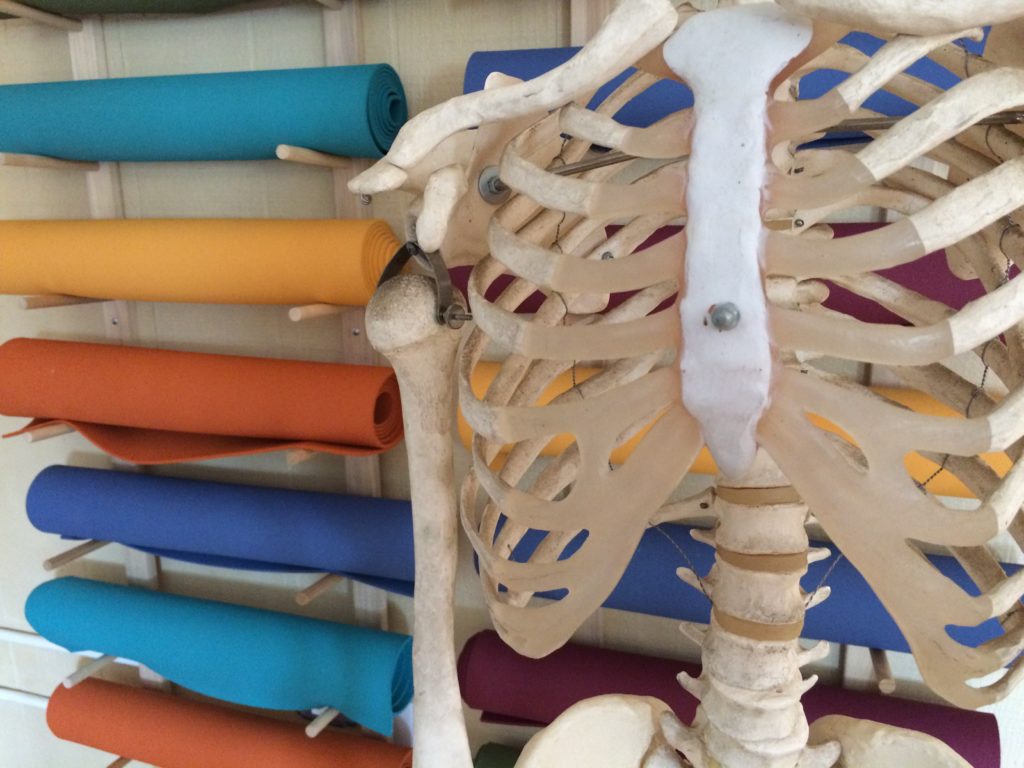
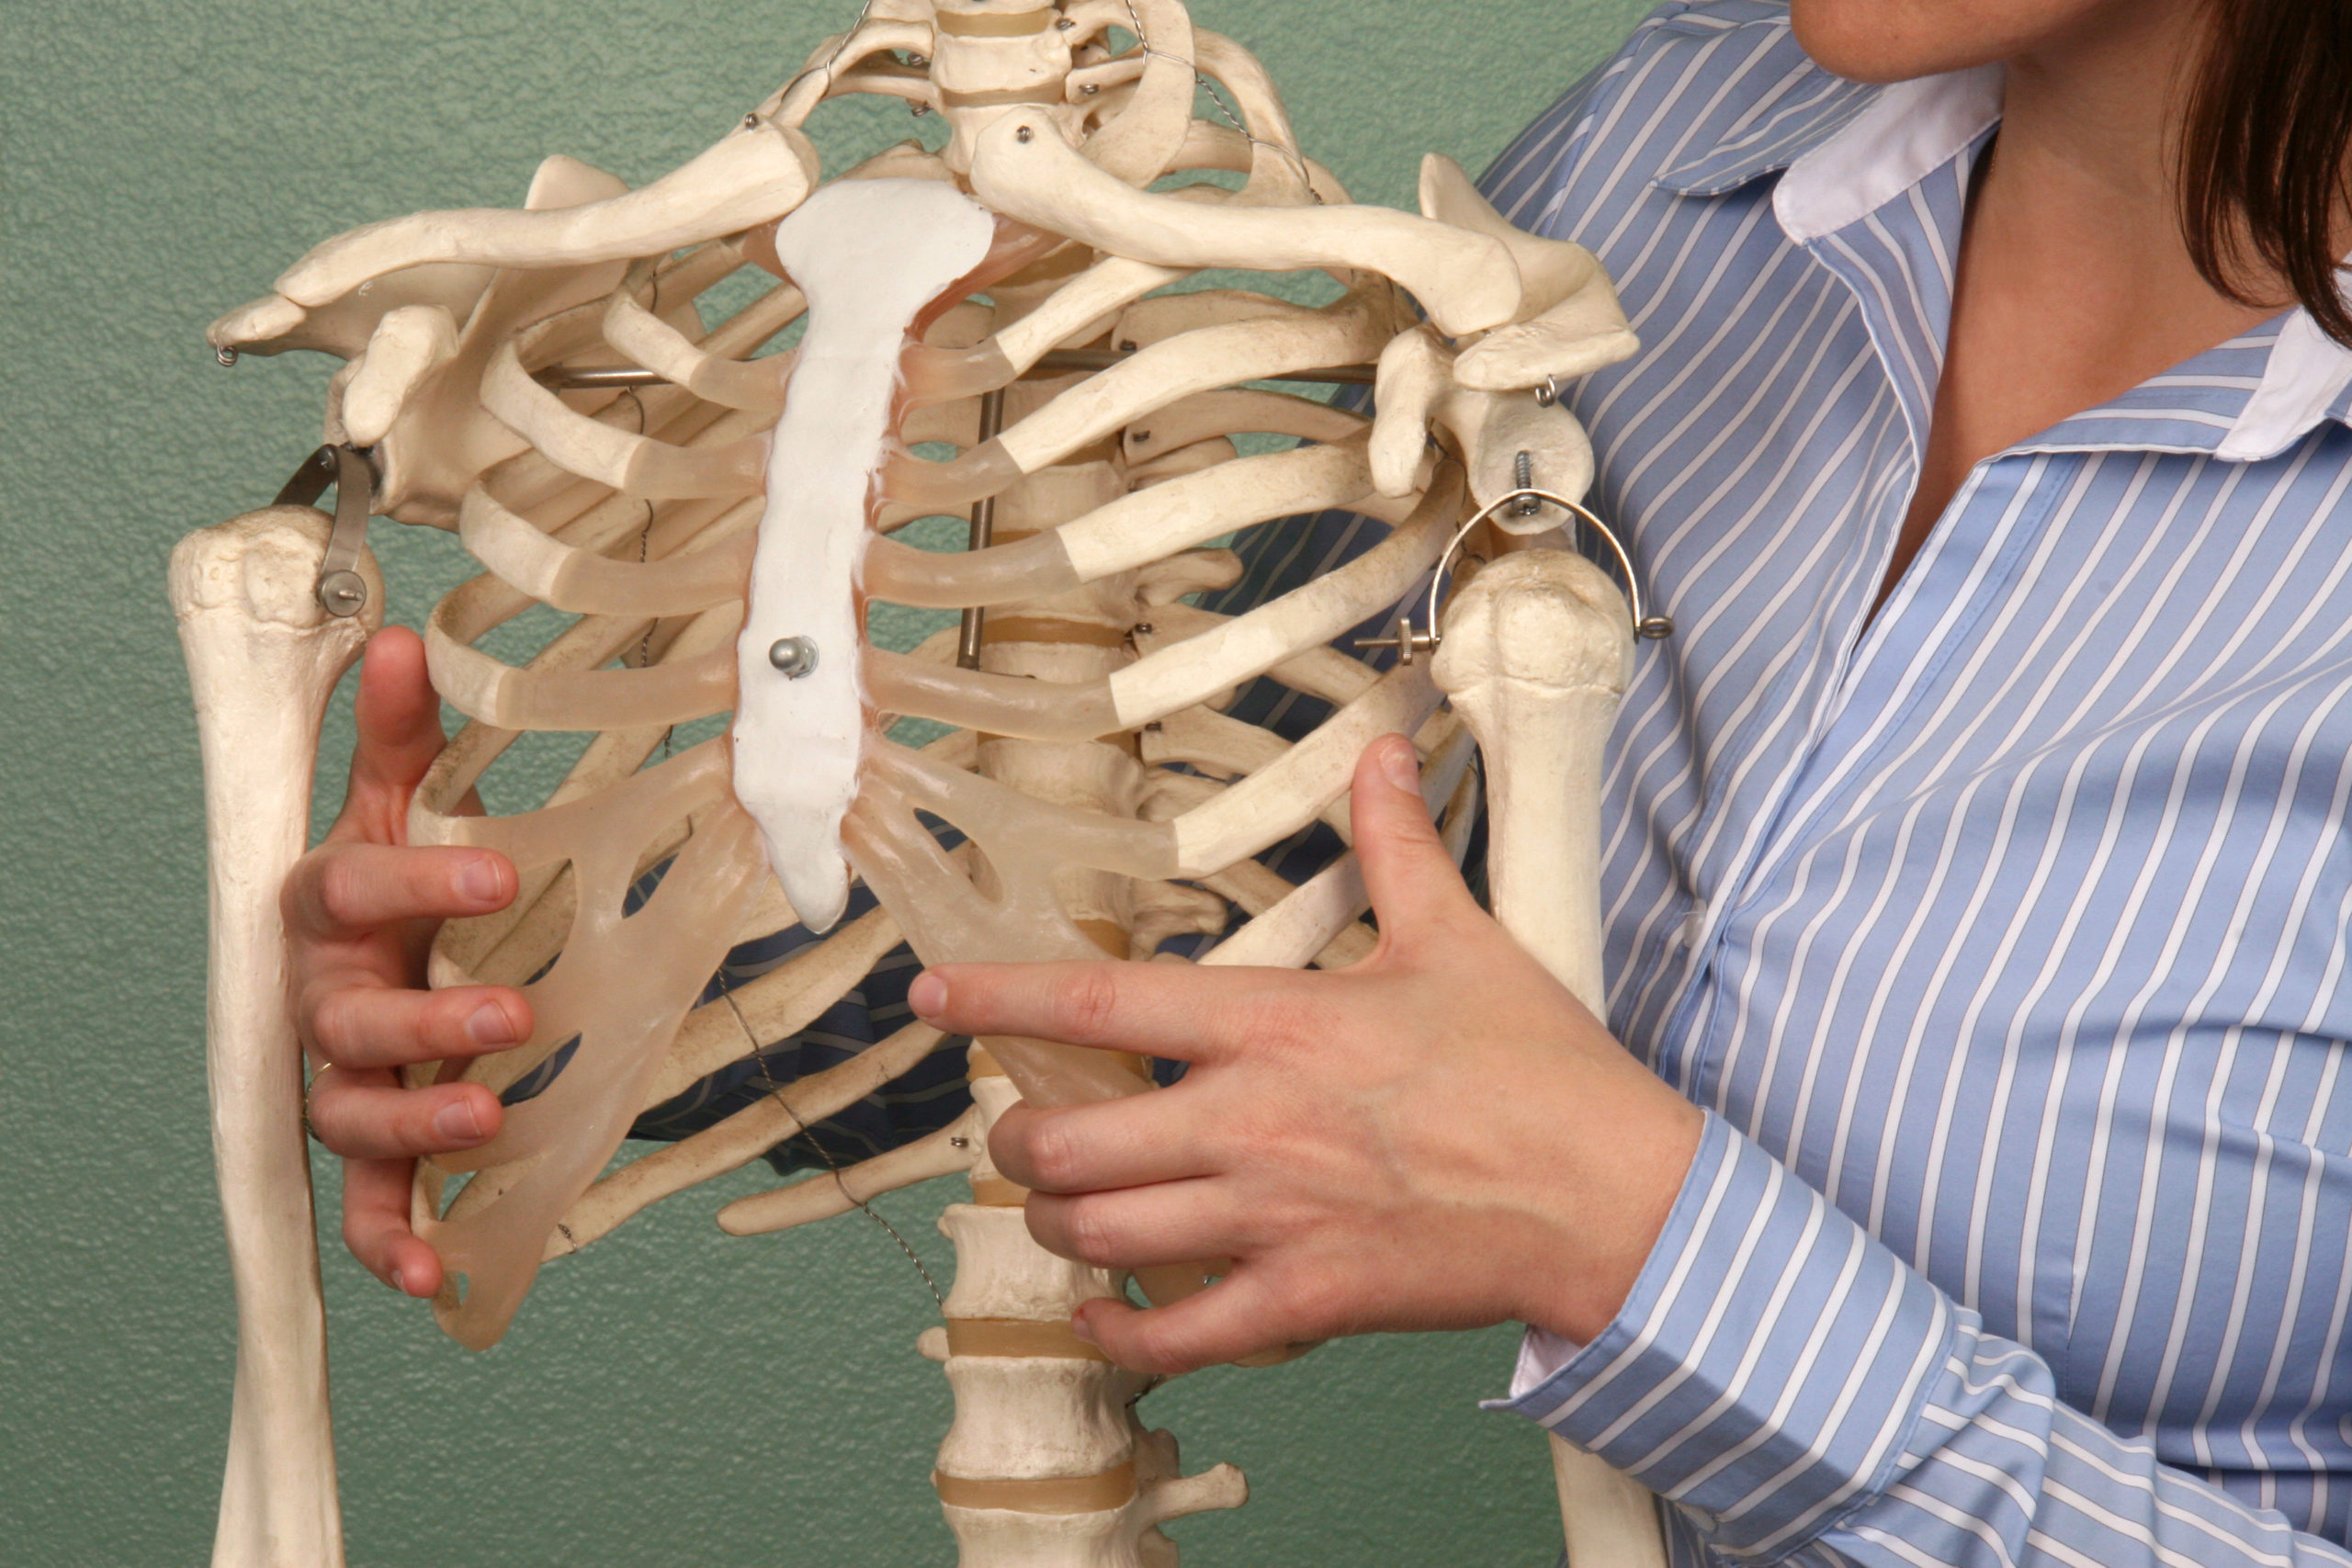
Breathing is getting the air outside your body to enter your body through your nose (or mouth) and travel down into your lungs. In order to get this to happen, you have to lower the pressure within your thoracic cavity—that’s the upper hunk of your body that contains your heart and lungs and is surrounded by your ribcage—so that air is pulled in.
I cover pressure best in Diastasis Recti, but a quick recap: to lower the pressure in your thoracic cavity, you have to increase its volume. The thoracic cavity is like a room in your house: your shoulders on top are a sort of ceiling, the ribcage and the muscles between them make the side walls, and the diaphragm muscle is the floor. Your thoracic “room” is similar to a room in your house—only the walls are flexible. When your wall-parts move via the contraction of various muscles, the space inside your thoracic cavity can increase, and the more it increases, the more oxygen you pull in. You can lower the diaphragm to make more space at the bottom, your ribs all rotate open to make more space on the sides, you can lift your shoulders up toward your ears to make room at the top, or you can do any combination of all three and get a bigger room all over. You want all of your walls to be nice and pliable, so you can maximize your thoracic-room volume to maximize each inhale. And P.S. Just reverse all of this for the exhale—supple parts moving to decrease the volume of the thoracic room is what moves the lungs to exhale/clear out, a movement skill not only beneficial for breathing (maximizing your exhale sets the stage for maximizing the next inhale) but for coughing.
Now, the thing that’s often overlooked is that when our body parts get stiff—often because we’ve spent a lot of time not moving them—they don’t move as much when we want to take a breath or when we require their strength and endurance to clear our lungs through coughing. What I’m saying is, the ability to maximize our breathing lung motions is limited by how well each of our breathing parts move.
What are the breathing parts?
If I were to make a list of non-airway and lung breathing “parts,” it would include a very long list of all the bones, muscles, fascia, nerves, sensors, and chemicals involved, but to keep this piece from being overwhelming, I’d start by calling out some of the more basic levers and pulleys:
- the ribcage
- the individual ribs
- the vertebrae that interact with each set of ribs
- the muscles between each of the ribs (the intercostals)
- some muscles of the head and neck (scalene and sternomastoid)
- the diaphragm
- muscles of the abdomen
- muscles of the chest, shoulders and arms
- muscles of the pelvic floor
Each of these parts helps or hinders the movement of other parts on this list, and so when we think of opening and closing our thoracic rooms enough to move the most oxygen, these are all the parts that have to move.
Okay, now let’s get your breathing parts moving more!
EXERCISES TO MOVE YOUR BREATHING PARTS MORE
Breathing exercises
A simple way to move your breathing parts is to play with various breathing exercises. This is sort of like varying your sitting positions. You’re mindfully doing something you’re already doing anyway in a different way to move various parts differently. This can be as simple as trying to take 10 deep breaths in a row or trying to breathe only through your nose, slowly. You can also find exercises online or remember any yoga breathing, choir or theatre breathing warmups. By paying attention to your breathing and by practicing breathing in different ways, you’ll be moving differently.
However, your breathing will always be limited by the immobility of the parts that create a breath. Meaning, sitting-and-breathing exercises can only take you so far.
Diaphragm/abdominal Release (from Diastasis Recti and Move Your DNA)
When you hold in your stomach, the contents of your abdomen can be pressed up against the diaphragm, preventing it from lowering to its full range of motion, and thus decreasing the total air you can pull in during an inhale. I hate to be the one to tell you, but here I go: you’re going to have to let your diaphragm down, and the only way you can do that is to let out any belly that you’re trying to hide in your abdominal cavity. Don’t be shy. Bellies are beautiful, especially bellies that are letting you breathe!
Level 1: Seated or standing, allow your entire belly to relax, paying special attention to the sensation of your diaphragm releasing. You will probably feel (and see) your abdomen moving outward. Once you feel you’ve released your diaphragm, try again—chances are you are holding residual tension there. You will likely need to remind yourself to relax your diaphragm throughout the day.
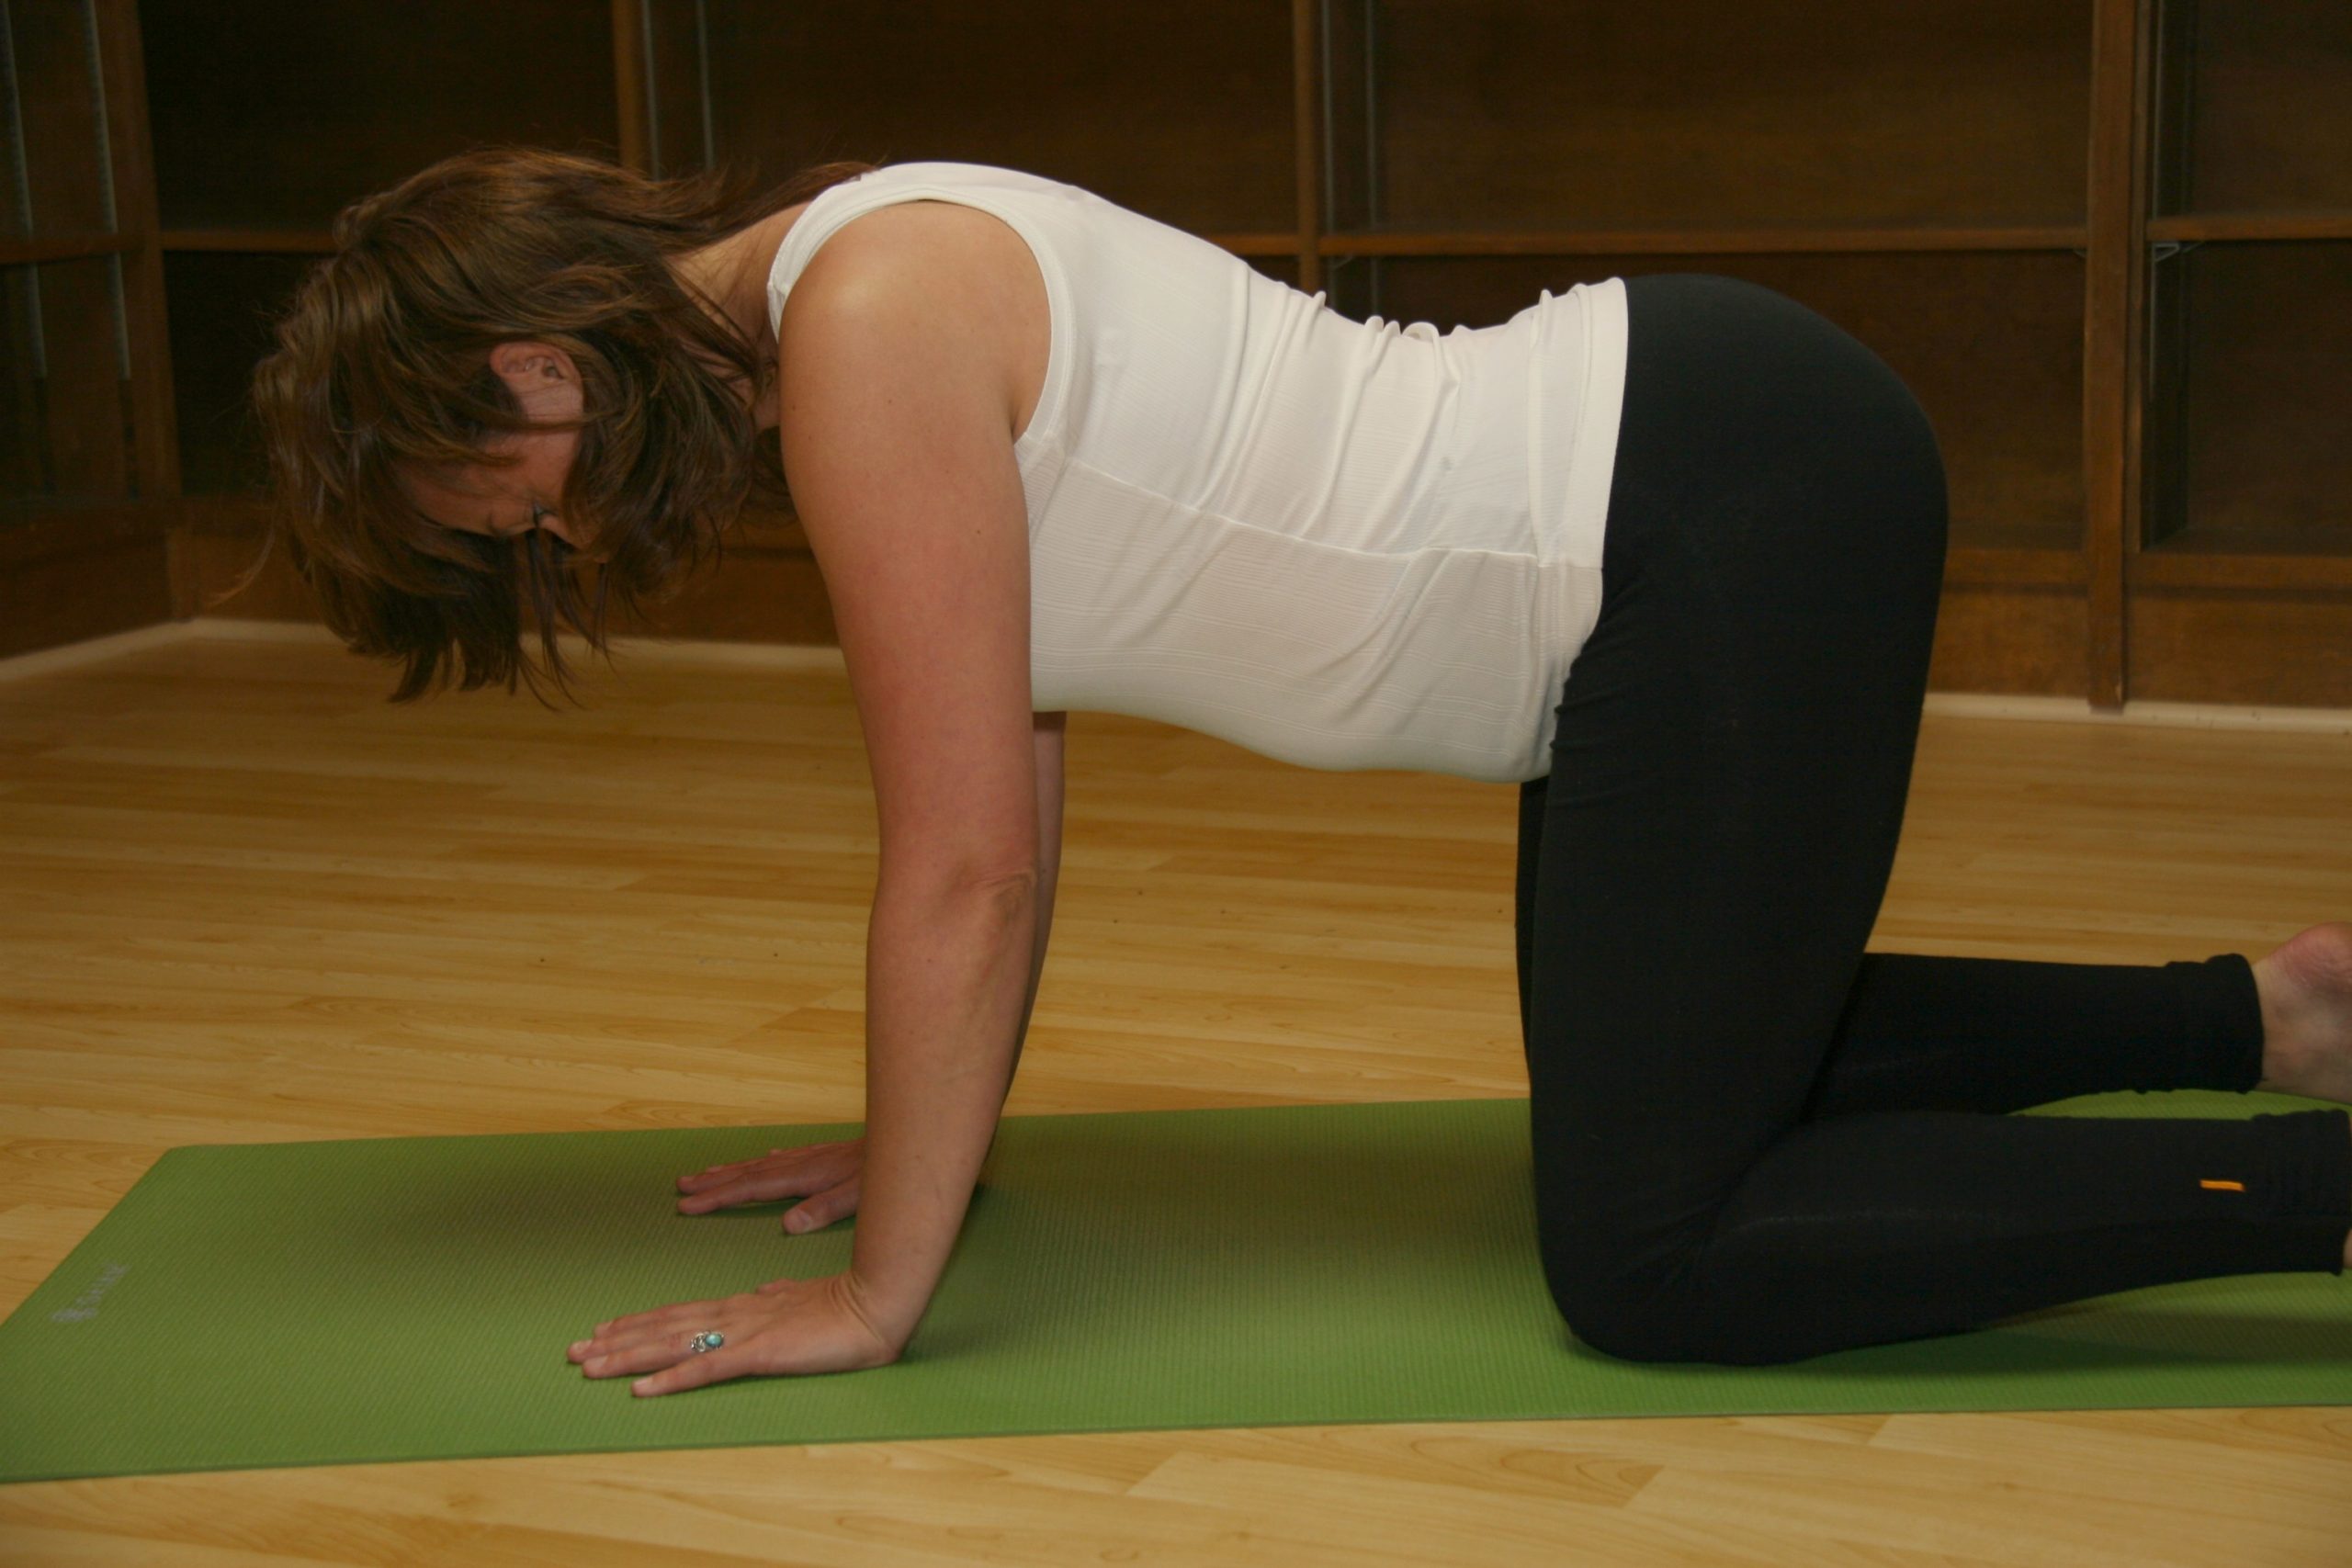
Level 2: Relax your belly to the floor while on your hands and knees (see pic above). In this quadruped position, your abdominal contents are pulled more by gravity, and you can often let your diaphragm down a little farther.
Moves to separate arm movement from ribcage movements
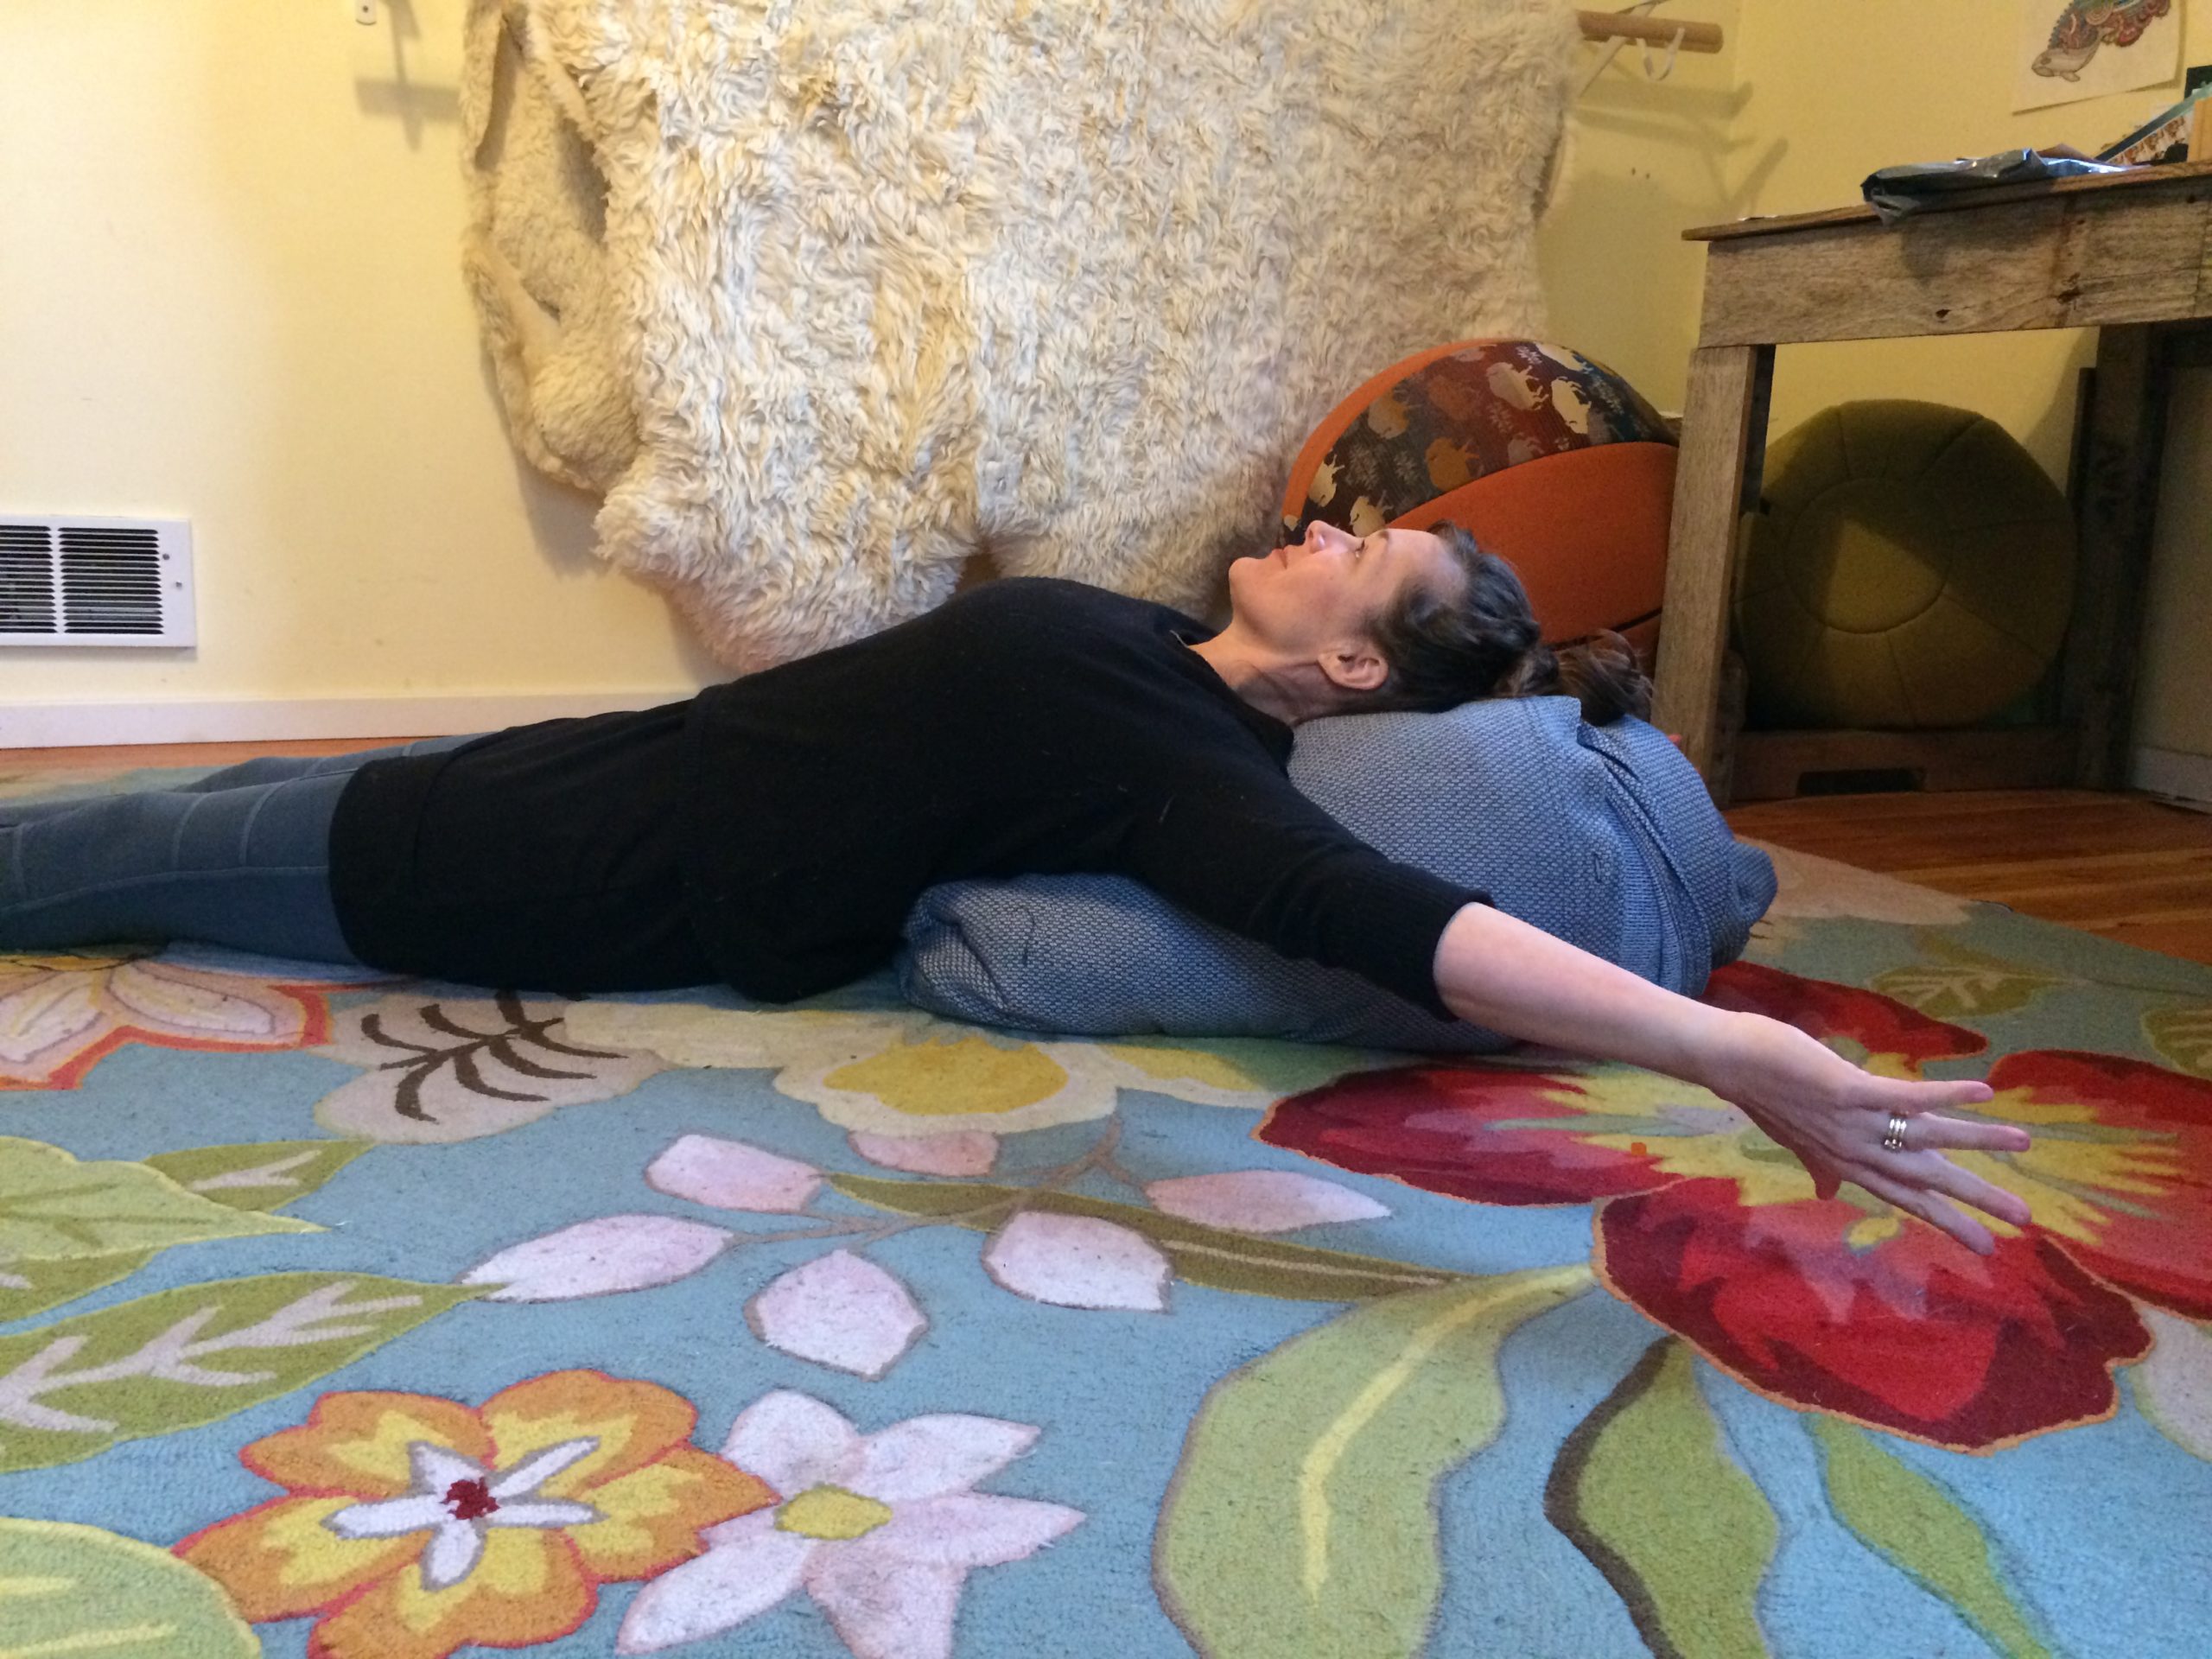
Floor Angels (from our Daily Movement Multivitamin DVD)
This is a gentle move that gets your shoulders and chest parts moving and lengthening.
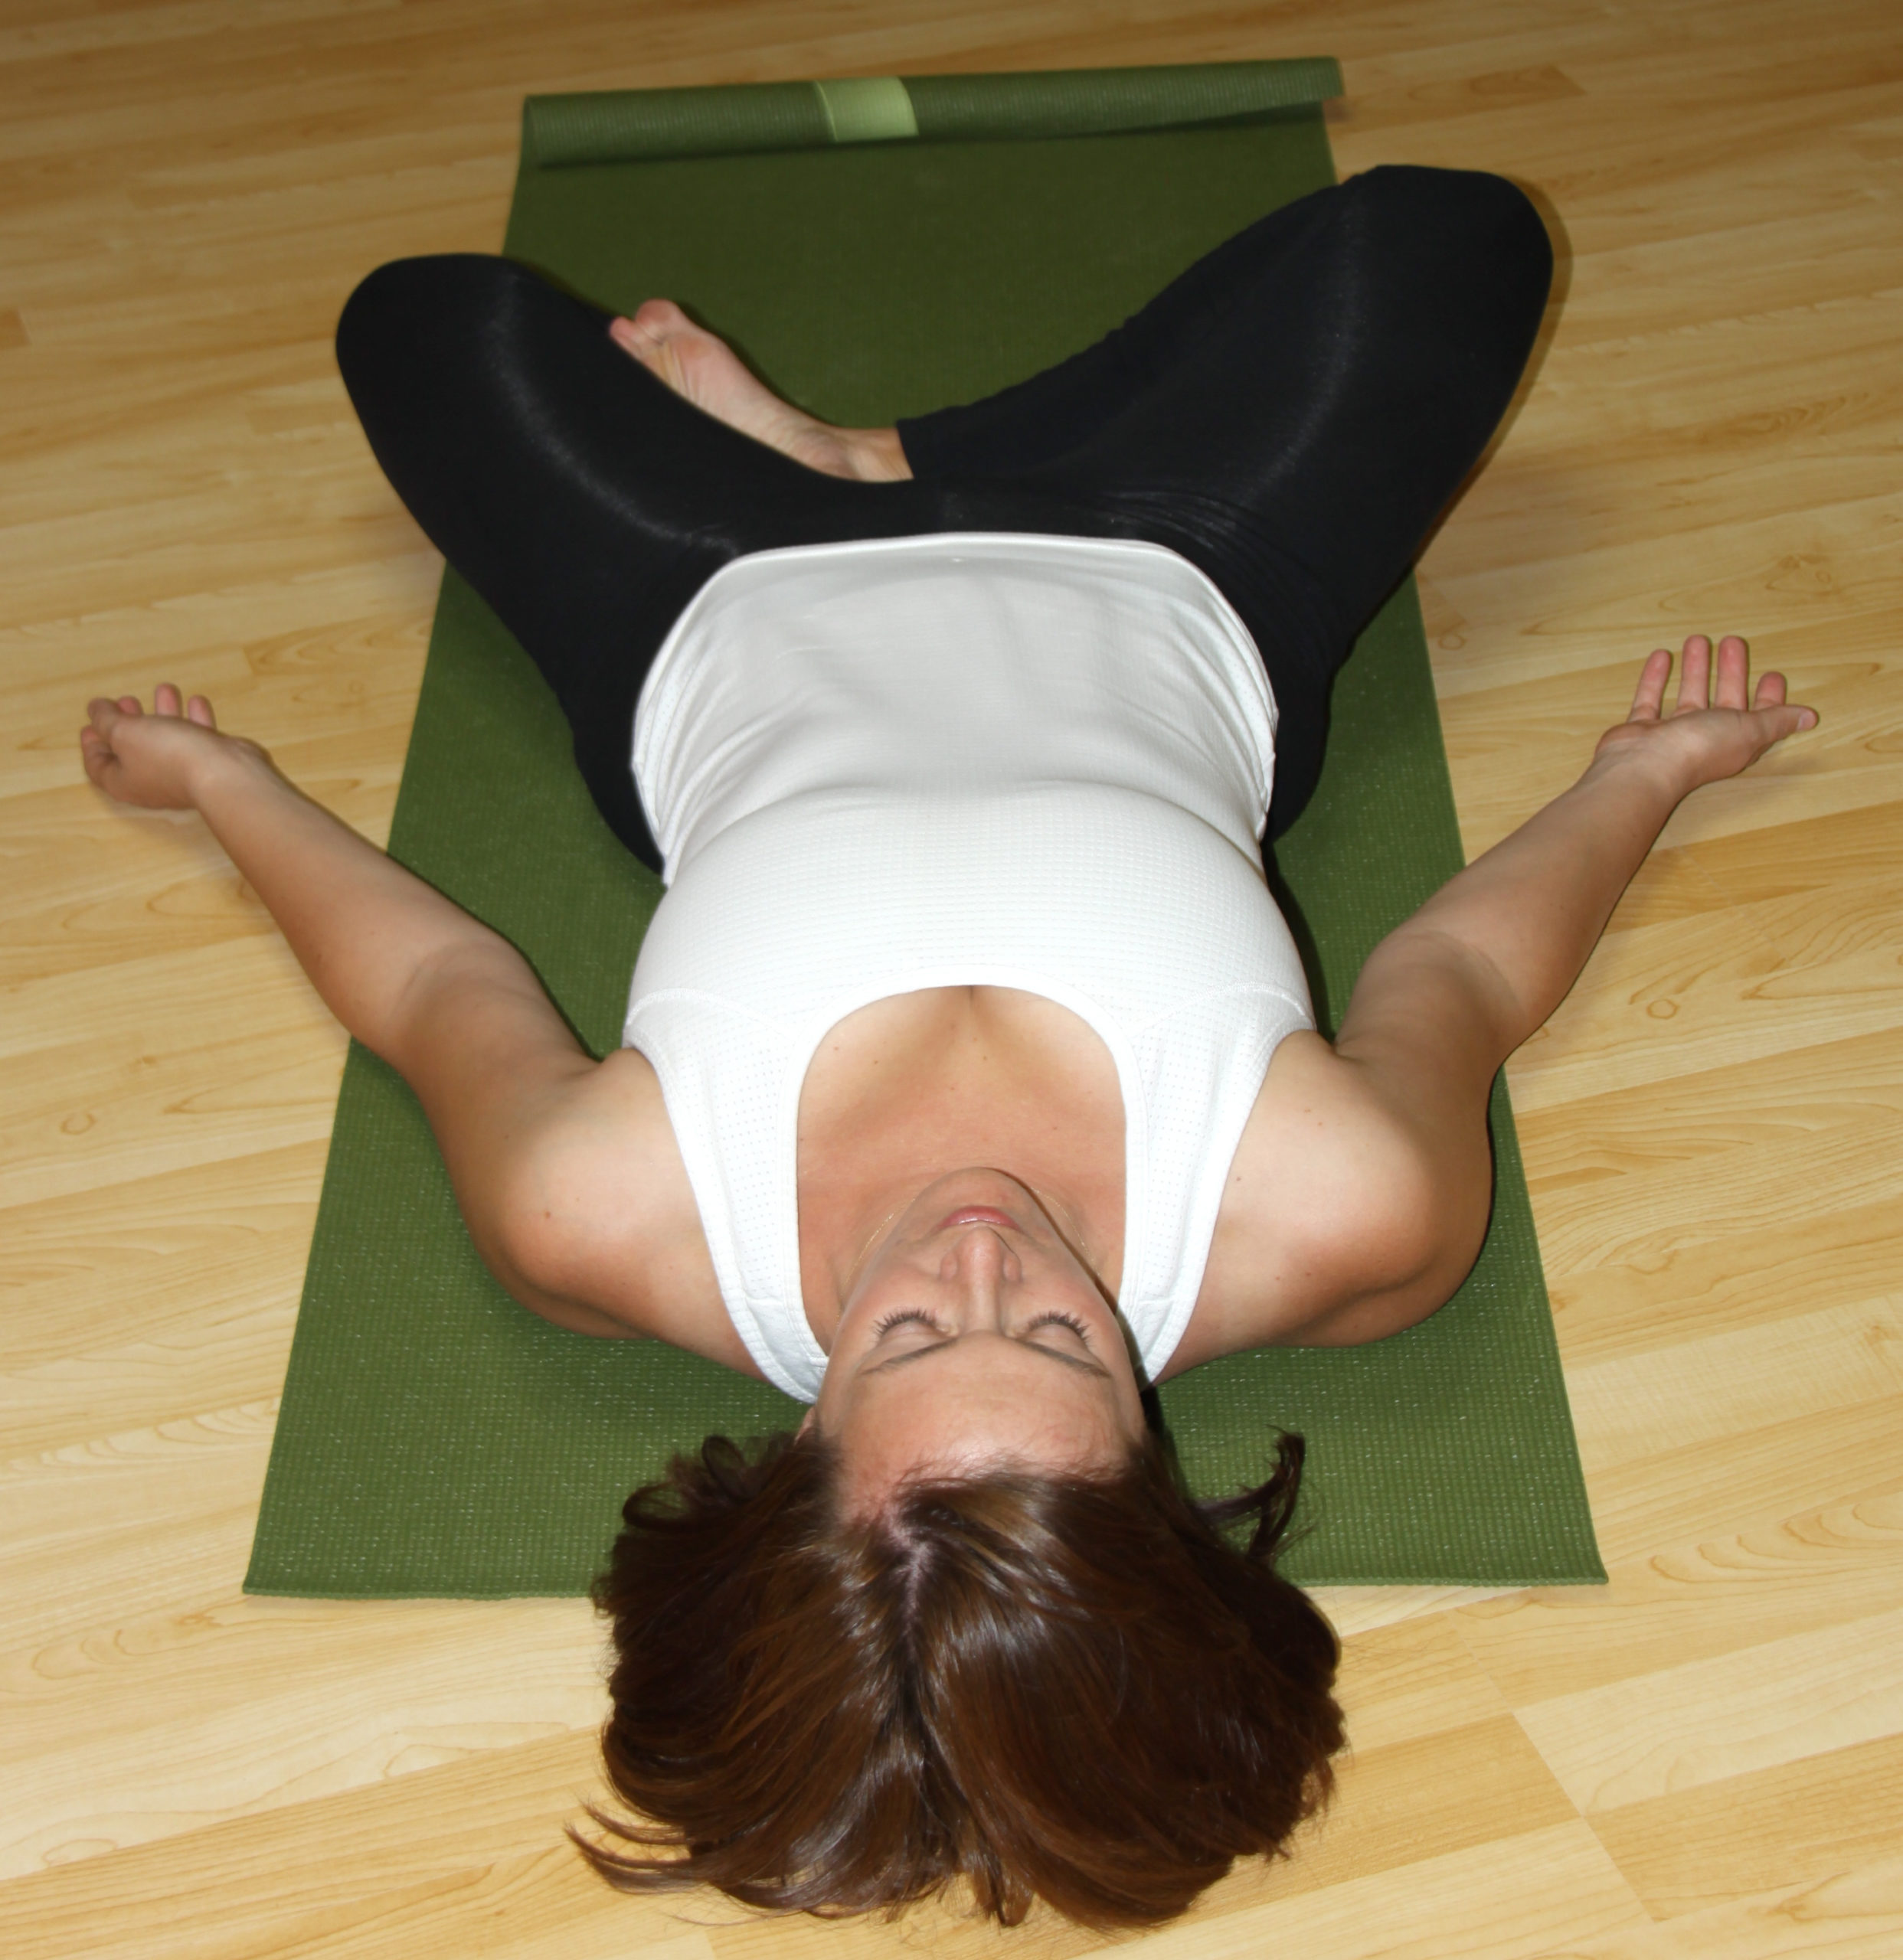
Recline on a bolster or stacked pillows so that your upper back is elevated but your ribcage can still lower toward the floor. Reach your arms out to the sides, trying to get the backs of your hands to the floor, keeping your elbows slightly bent. Once your chest can handle this stretch, slowly rotate the arms externally, so the elbows move up toward the ceiling and the thumbs point toward the floor (note: you can turn your arms either way to get this movement, so make sure you’re turning them back). Then, make a “snow angel” motion, 10–20 times, moving your arms along the floor (or however low you can get) toward your head, and then back down toward your hips.
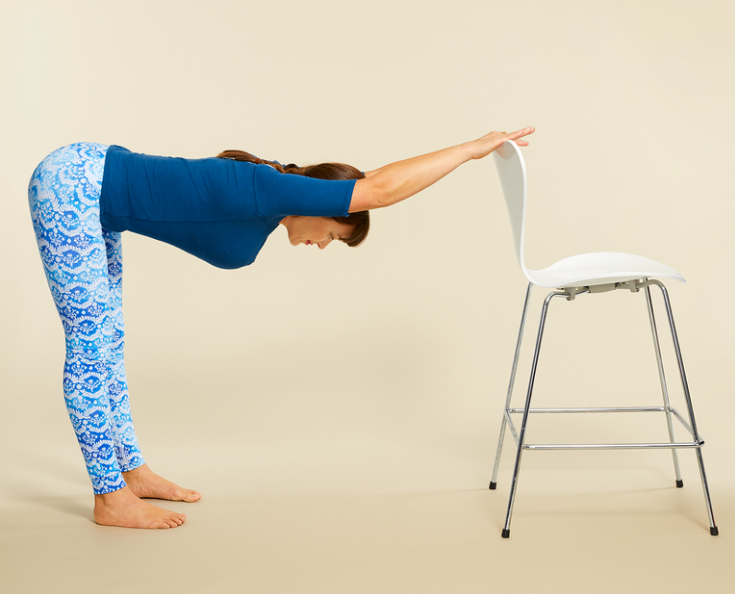
Thoracic Stretch (from the Movement Multivitamin)
Have you had your arms down by your sides most of your life? This is a great way to start mixing up their movements.
Place your hands on the back of a chair, counter, desktop, or wall. With your hands in place, walk backward to lower your chest toward the floor. With your feet pelvis width and pointing forward, back your hips up until they're behind your ankles. Bend your knees to take tight hamstrings out of the upper-body equation OR keep the legs straight to add a stretch to the hamstrings and calves. After you've done this a few times, rotate your elbows toward the ground for even more shoulder movement!
Log Pullover (from Diastasis Recti)
This is a good move that gets your shoulders moving and makes the abdomen work to stabilize the entire ribcage (also good for breathing).
Lie on your back with your head and shoulders bolstered on a blanket as needed, legs extended on the floor. Grip the ends of a log (or jug of water or any other weight) and squeeze your elbows toward each other (tight shoulders may make them want to poke out to the right and left).
Keeping the bottom of the ribcage from lifting, lower the log overhead, only going as far as you can without letting the ribcage lift up toward the ceiling, then bring the log back up to the starting position. Repeat fifteen to twenty times. Follow along this video clip for more detail.
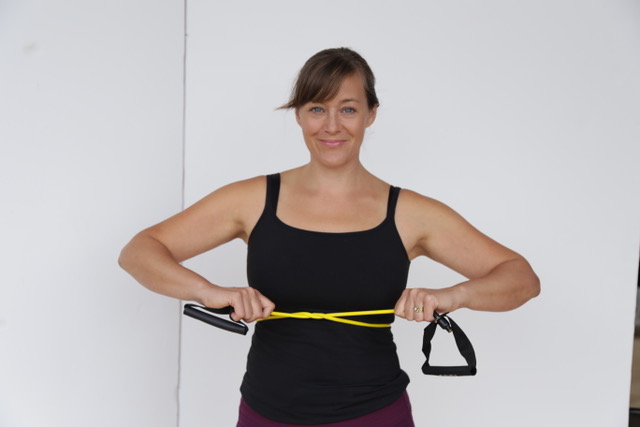
Activate your Intercostal Muscles (from Diastasis Recti)
If you’ve been mostly belly breathing (dropping your diaphragm) and you have a tight upper body, then the sets of muscles between each of the ribs lose their ability to move. This is where you learn to strengthen them.
Set up: Seated or standing, firmly tie a stretchy resistance band or pair of tights around your torso just beneath your chest muscles or breasts (at the height of a bra strap or heart rate monitor). Try to breathe through the nose for this if possible.
On the inhale: try to expand the circumference of the ribcage and feel the resistance from the elastic pushing on your ribs. If you don’t feel it at the end of your inhale, re-tie the band a bit tighter and try it again.
On the exhale: try to decrease the circumference of your ribcage, pulling it inward, making the pressure from the ring of elastic less. Repeat, using each exhale to bring the ribs inward as much as you can.
You’ll eventually feel muscles between the ribs and throughout the abdomen work on the exhale. You can use the elastic to teach you how to find and use these muscles, but once you’ve got the motor skill, you can do this exercise without the tactile assistance of the band. Watch a video of me explaining this move in one of the classes in our Virtual Studio.
The bigger moves
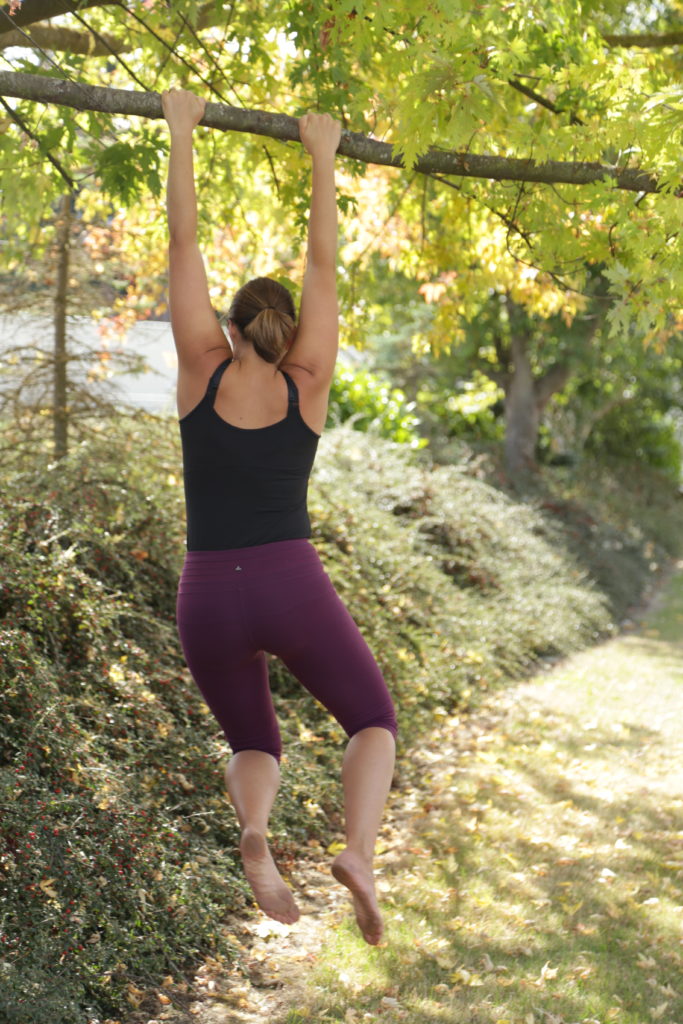
Arms come with the anatomy to hold the weight of your body. Being able to hang from your arms is not only about fitness feats; the movements created by hanging affect your breathing parts too. The first part of hanging is simply getting your arms overhead. You’ve already worked on this movement in the Thoracic Stretch and Log Pullover above, but here’s where you try it standing.
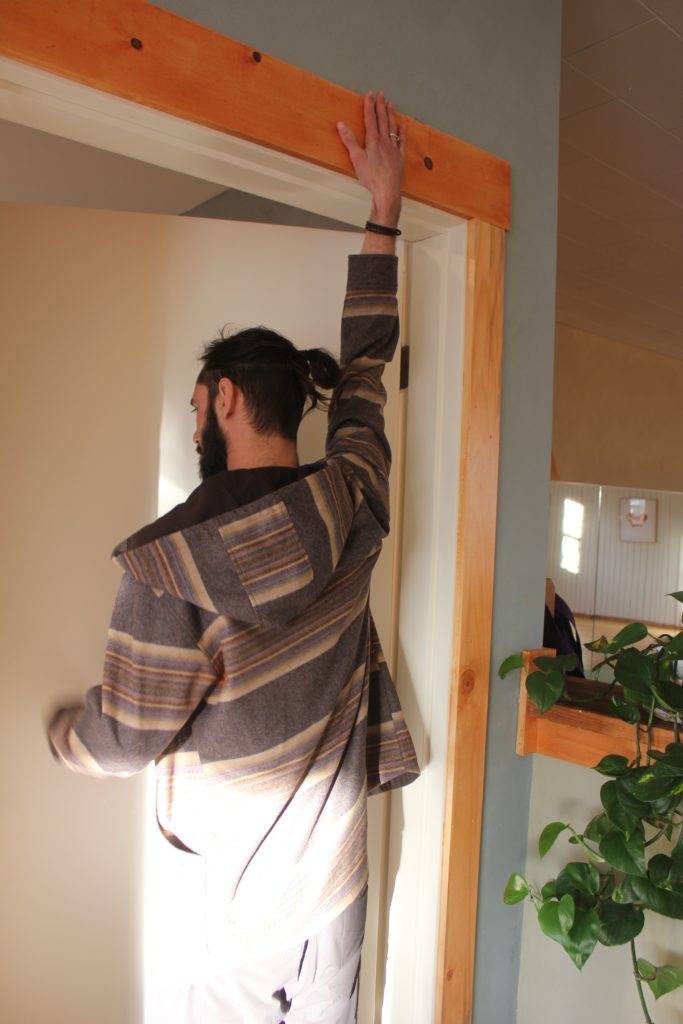
Doorway Reach
Every time you walk through a doorway, reach your arms up until you can touch the wall above it, and then lower your ribcage back to neutral. Keeping the arms straight, step forward to increase the stretch, but really focus on dropping your ribs.
If you find yourself unable to reach the top of a doorway, you can do a single-armed version of this exercise, one arm at a time, on the right and then left side of a doorway.
Hanging and Swinging
Next, scale and follow the hanging protocol outlined in Hanging and Swinging 101.
The posture
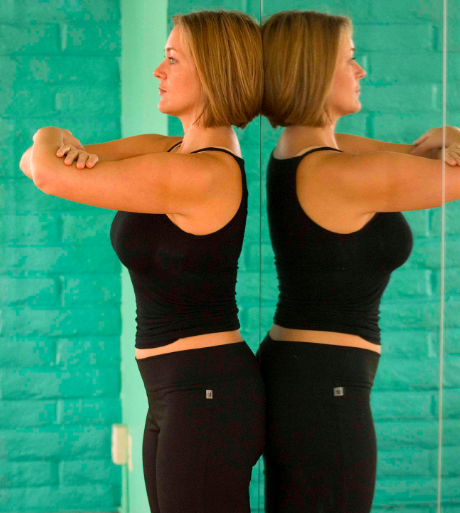
The way you carry your upper body as a whole impacts the leverage of many of your breathing parts. I’m putting “posture” last because even though it’s hugely important, I don’t want you to wait until you've got your posture down to play with all the other movements above. Start moving all the parts above, then read about aligning your ribcage to the rest of your body in Are You A Rib Thruster? After that you can adjust your ribcage “down” in all the moves above as you work on them.
KEEP BREATHING
Breathing is the most important movement of all. If we’re doing it (and if you’re reading this, you’re doing it. WELL DONE!), we’ve adapted to any resistances our body may be offering to be able to breathe well enough when we’re healthy. What we’re working on here is the ability to find the sticky spots (read: Move Your DNA) in our breathing so if we’re challenged, we can call on more breathing volume. When we try to breathe in new ways, we’re asking new (and stiff) parts in our body to change shape, which can make breathing harder. That’s because we’re feeling the decrease in breath due to the stiffness of those parts.
Step one of any exercise is to keep breathing, so if you notice you’re having trouble breathing with, say with your diaphragm released or when you’re trying to move your ribs, go back to the position where breathing is comfortable. Then, try a smaller range of an exercise. Maybe don’t drop your ribcage all the way, just partway. Or maybe do the diaphragm release only partway for now and work on all the other moves for a while, then circle back to try them all again with your diaphragm a little more released.
In efforts to reduce everyone’s screen time and internet-consumption, and so you can share these moves with friends and family without access to or interest in the internet, download this article to use as an exercise sheet, and hang in your house or snail mail to a loved one. Note we are giving permission for personal use only!
I’m wishing you all the luck with a better breathing practice. Be and breathe well, humans!
Above I've used a simpler model, but "breathing" gets more complex when you starting adding activity, and the movements that create that activity. You can listen to more on that in podcast episode 116: Taking a Breath(er). For more details on pressure and exercises like the ones above, read Diastasis Recti. Although the book is not about breathing per se, it’s a helpful program to improve the mobility of the shoulders and ribcage as well as improve the core function—all which will improve your breathing mechanics. If you’re just starting and want a simple set of 18 exercises to decrease whole-body stiffness, look at our Movement Multivitamin.
